As your website grows it’s always better to upgrade your hosting to something like Google Cloud as it is significantly faster than shared hosting. This text tutorial is written for those who want to quickly install WordPress on Google Cloud using Openlitespeed.
I wrote this so it’s easier for a beginner to follow the steps. You can either watch the video below or read the article and follow along.
Table of Contents
Step-By-Step Google Cloud WordPress Installation on Free Tier:-
Create your Google Cloud Account:-
The first step is to go ahead and create an account on google cloud. You can use your regular Gmail account to signup.
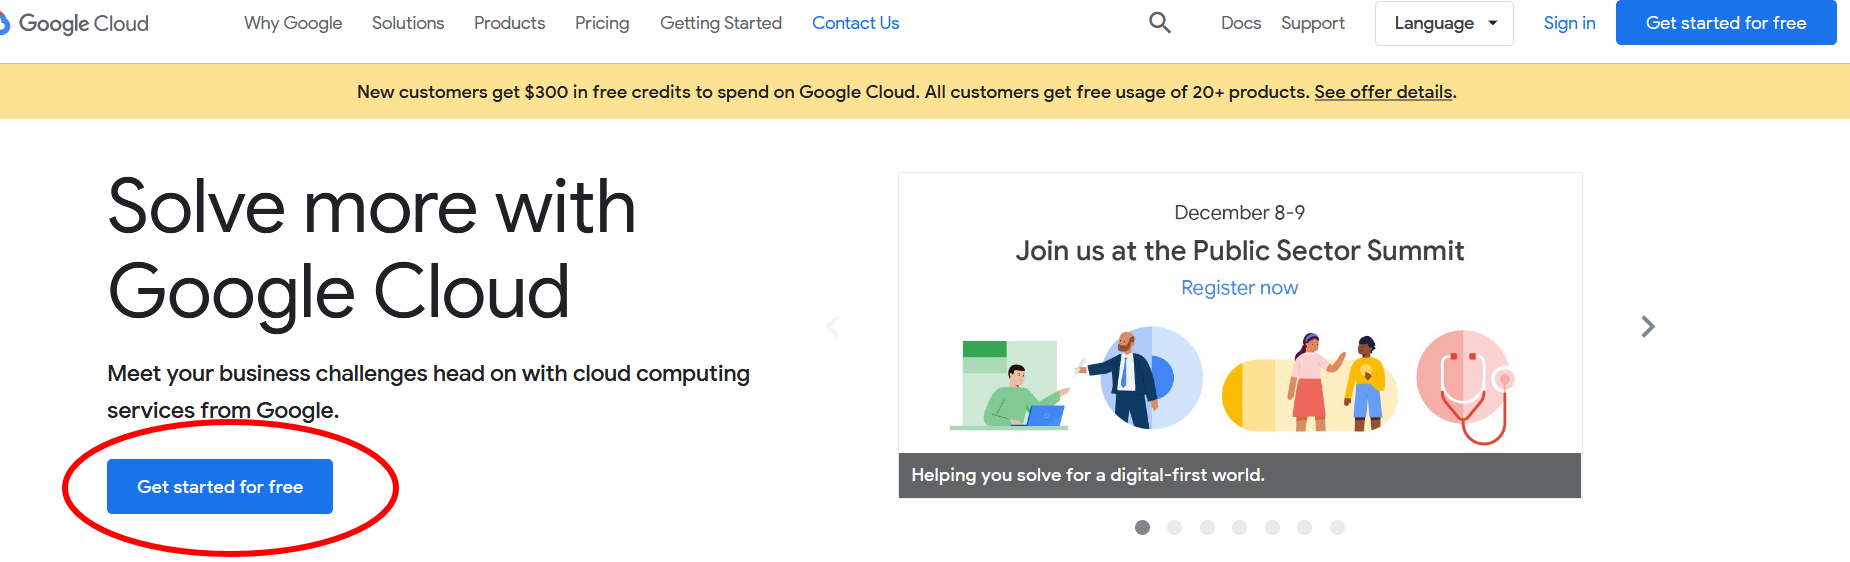
- Go to https://cloud.google.com/ and click on “Sign in” or “Get Started for free.”
- You need to choose your country and enter your card details and other info.
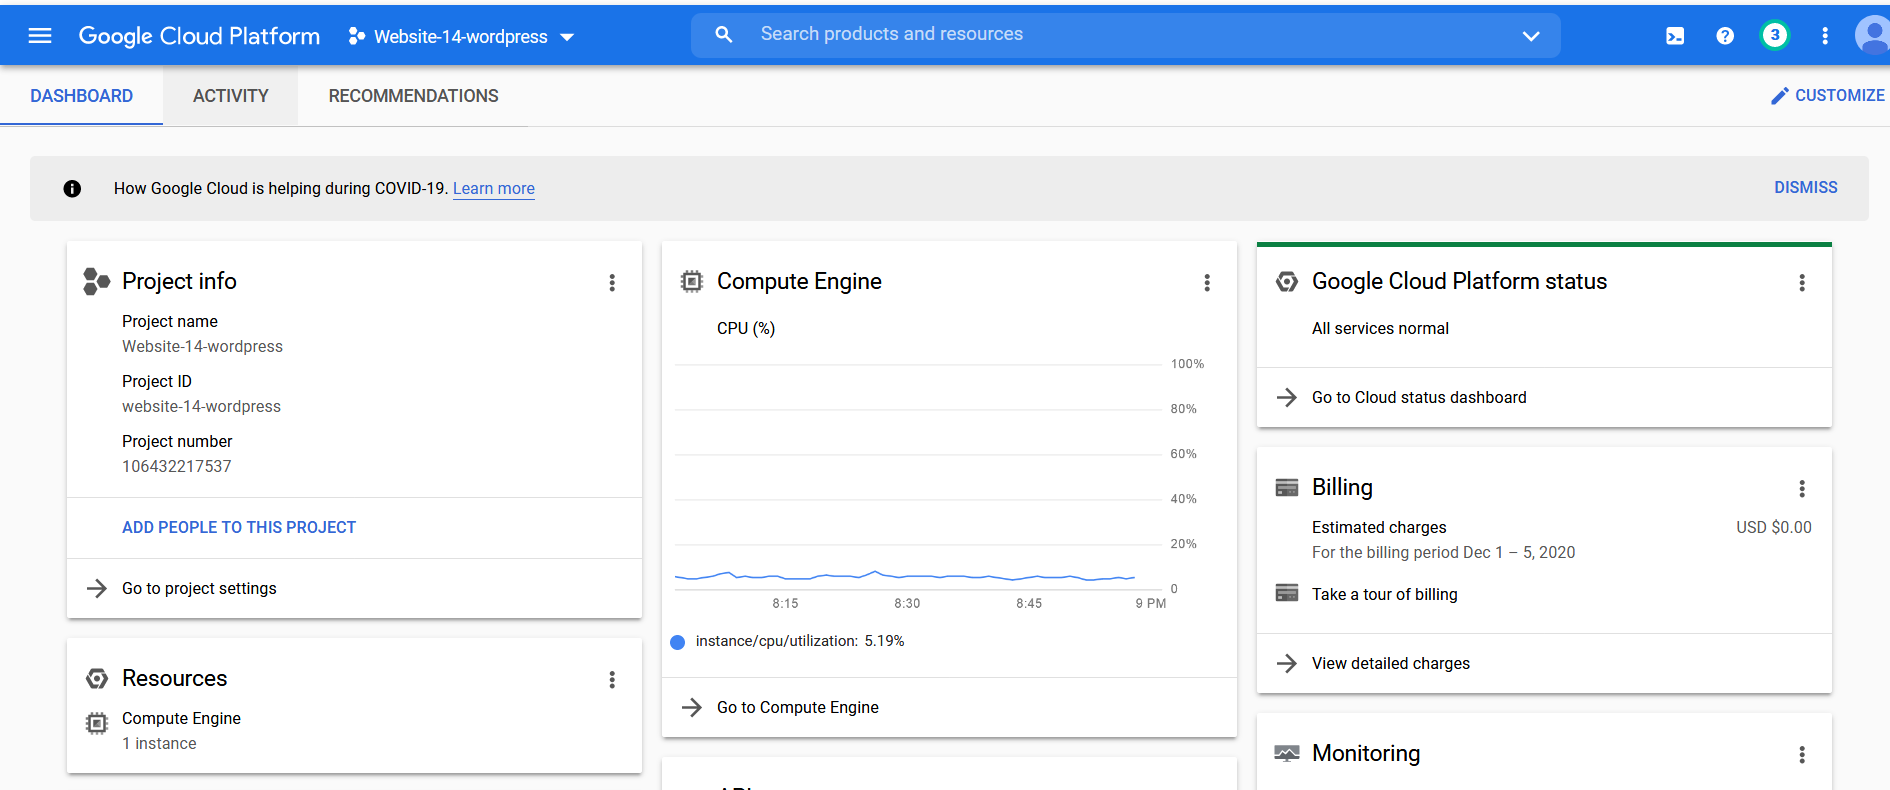
3. Once that’s done, you will be redirected to https://console.cloud.google.com/ and you should see a page like this below.
Creating Your Project
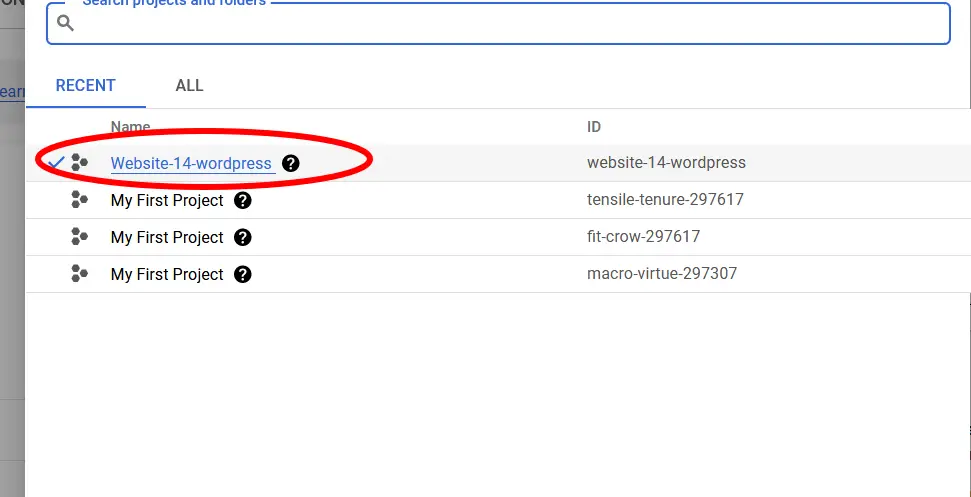
- After you have successfully signed up, the next step is to create a “New Project”.
- Give your Project a “Name”.
- Once the project has been created, you need to click on the newly created project.
Marketplace to Install Openlitespeed
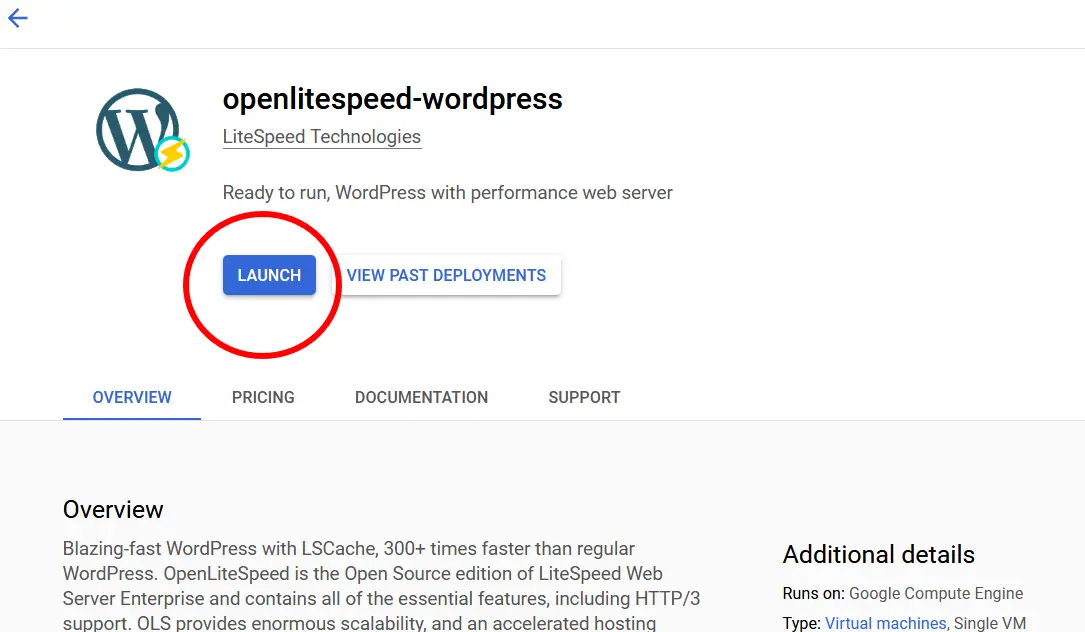
Head to the marketplace and search for “WordPress”. Browse until you find “Openlitespeed” and click on it.
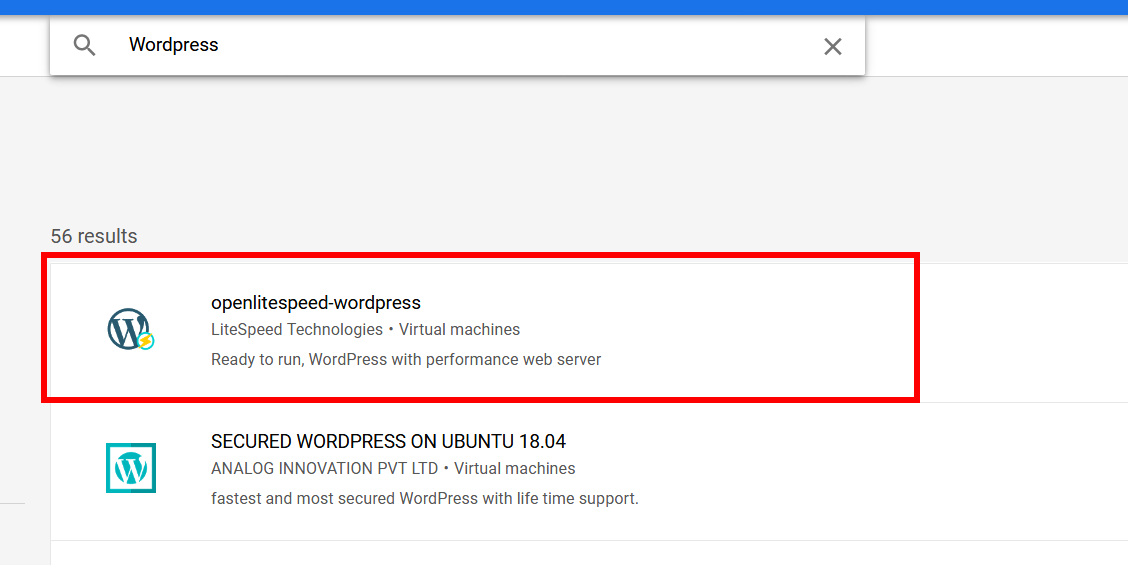
We are choosing openlitespeed-wordpress because we will be using openlite as the stack to Install WordPress. After you have click on it, you will see the launch button and click on “Launch”
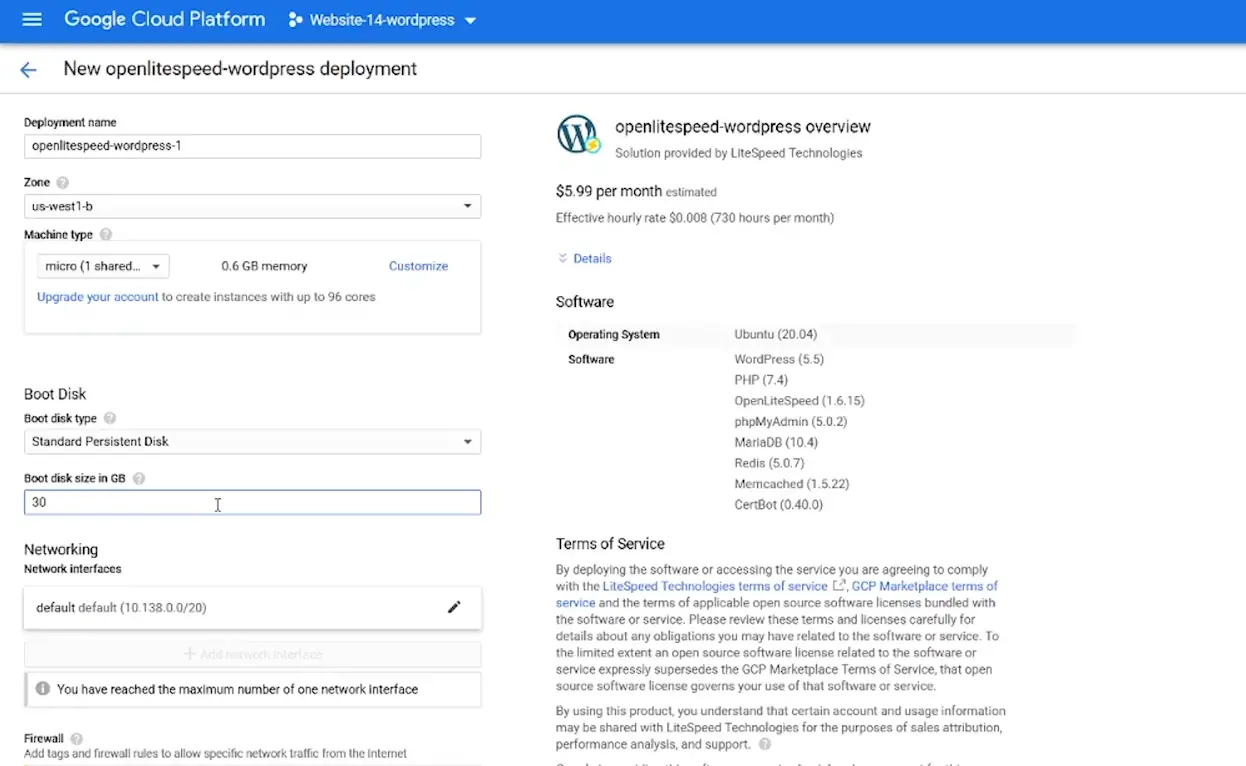
Now it’s time to configure the WordPress deployment. You can follow my settings below or if you know what you exactly need, you can go ahead and input them. If you are just starting out then I would suggest you just follow my settings below.
Make sure you have read the Google Cloud Free Program pricing before you choose or configure. After all, you don’t want to be charged more than what you want.
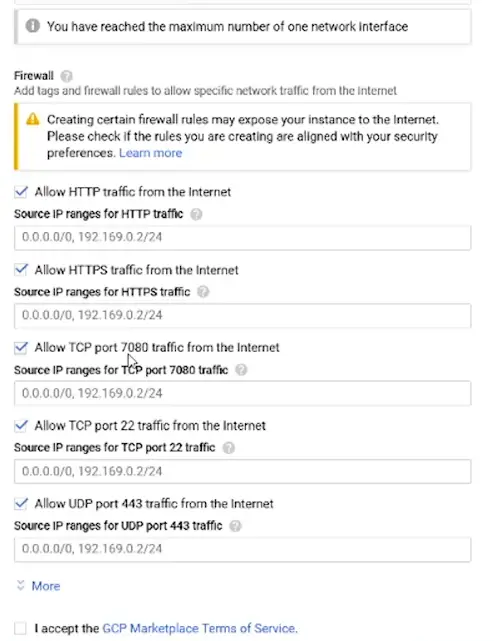
Below are the settings for configuration.
and also this…
After you have done that, you should see the deployment manager page.
Reserving Static IP Address:-
We don’t want a dynamic address for the installation as we need to connect the domain name via the IP. So we need to make sure the IP is static and to do that head to Menu > VPC Network > External IP Address.
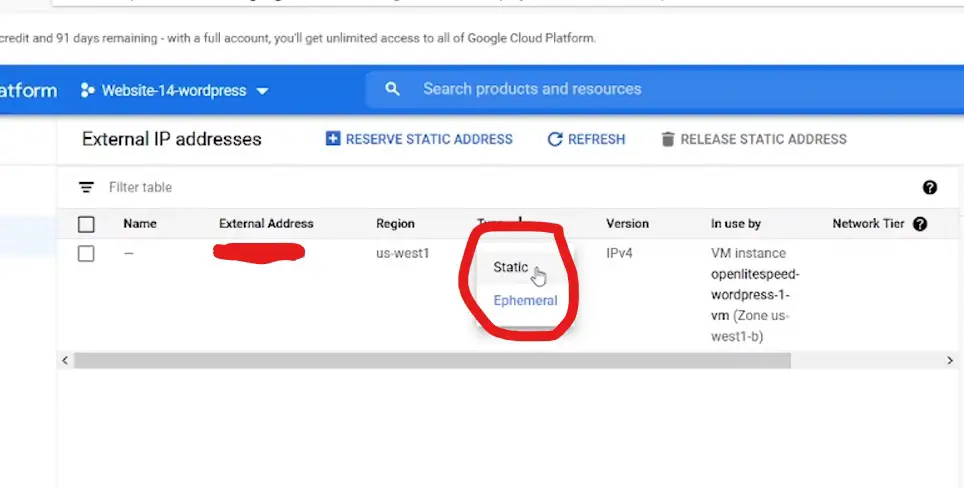
Once you have reserved your IP, the next step is that we will connect the IP to a domain.
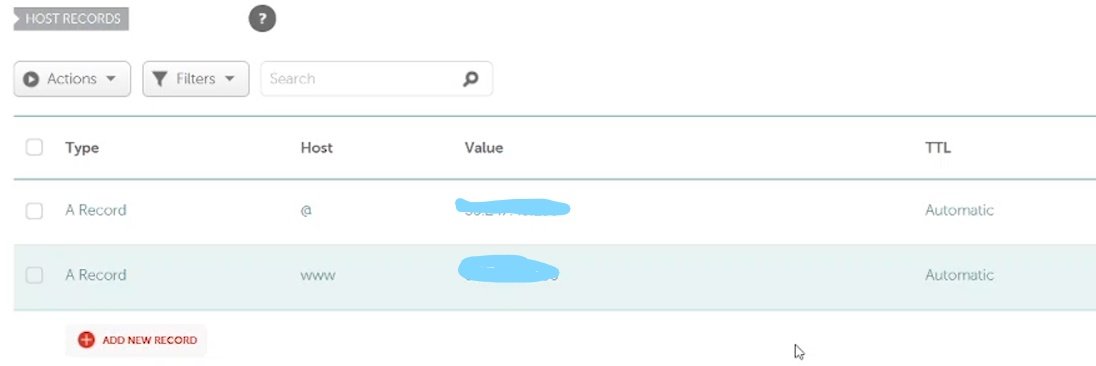
Connecting your Domain Name:-
So, we’ll just be adding two A records on the domain name to connect.
After this process, the DNS Propagation time will vary. It might take anywhere from 24-48 hours to completely propagate throughout the internet.
You can check the process at whatsmydns.net
Installing Let’s Encrypt SSL:-
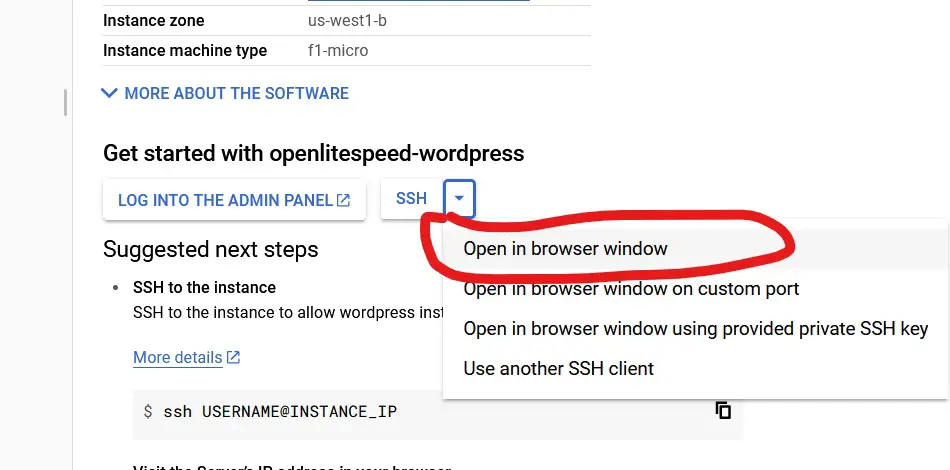
This step is pretty easy and you can just follow the steps that prompt itself on the command line. First head over to your deployment manager and make sure you have chosen the one that you just installed.
Open up your SSH command line.
After that, you will automatically be prompted to do the following steps and just enter your domain name without WWW and click enter.
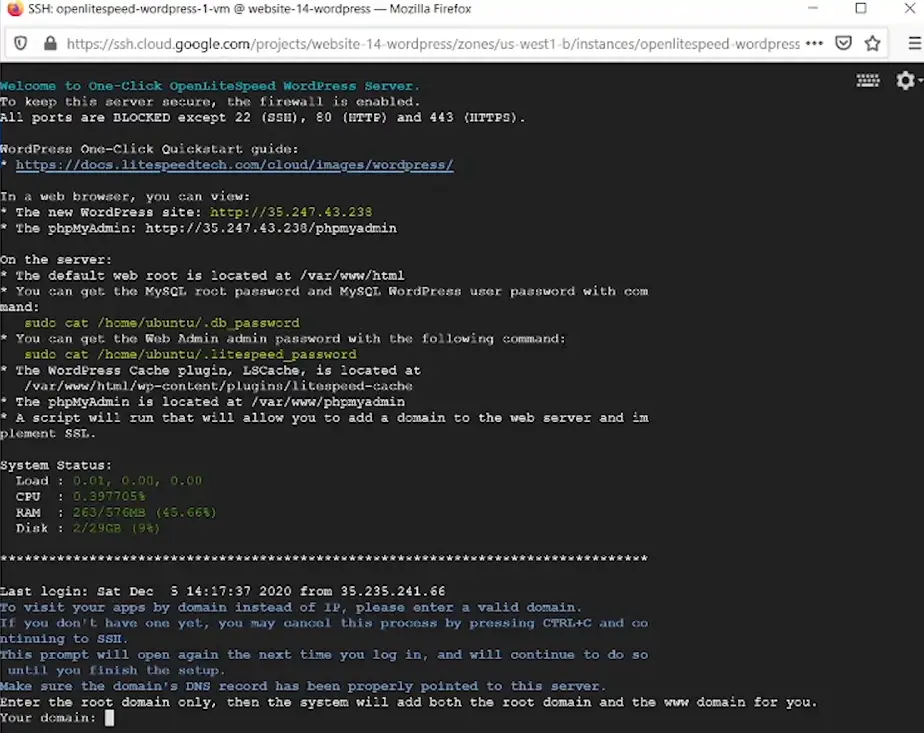
If everything went well, you will get a success message and if you do then, you’re done.
Install WordPress:-
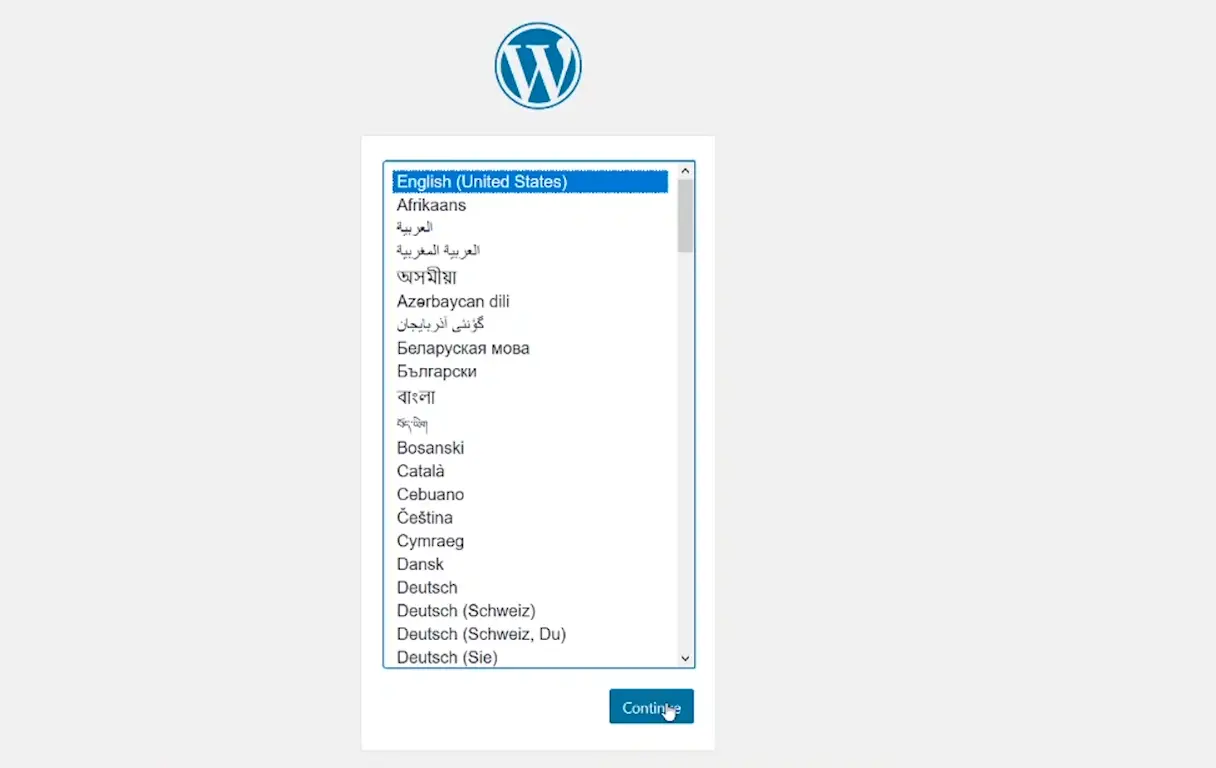
Hold on there, we are almost done. All you need to do now is to go to the domain name that you just connected.
Open a new tab and type in https://yourdomain.com/ and you will see the page to Install WordPress. You just need to input your details and you will be taken to the dashboard.
That’s straight forward and the next step is important, so please don’t skip it.
Setup Swap File:-
Swap file creation is pretty simple and it’s always advisable to create one just in case. After all, we don’t want our website to crash or use more storage than what’s required.
Open the command line again:-
just paste these commands one by one and you should be good to go.
Swap File Commands
sudo fallocate -l 1G /swapfile
sudo chmod 600 /swapfile
sudo mkswap /swapfile
sudo swapon /swapfile
free -m
echo '/swapfile none swap sw 0 0' | sudo tee -a /etc/fstab
You’re done, but below is the command if you want to check your newly created Swap File.
htop
Access Phpmyadmin:-
Accessing PHPMyAdmin is pretty easy unlike in AWS. All you need to do is head over to https://yourdomain.com/phpmyadmin/
the default username is “root”
the password can be found in the command line by using the command below:-
sudo sed -n 1p /home/ubuntu/.db_password
Command for finding user MYSQL password
sudo sed -n 2p /home/ubuntu/.db_password
Edit PHP.ini File:-
Editing PHP.ini is very handy when you want to configure additional settings. You can do it straight from the command line using the commands below:-
The command for root access
sudo -i
The command for editing the php.ini file
vi /usr/local/lsws/lsphp74/etc/php/7.4/litespeed/php.ini
Once you have edited it, for it to take effect, you need to restart your PHP and the command for that is below:
killall -9 lsphp
Conclusion:-
Also check out:- How to Install Google Analytics on WordPress
If you have followed all the steps right, then you should be good to go to install WordPress. If the text tutorial is hard for you to follow, you can always watch the video at the start of this page.
If you have any other questions, feel free to reach out to me at superfinessebox@gmail.com