Google Analytics is the best tool to track your website users. If you have a website and you don’t have Google Analytics installed then that should be your next step.
If you have a WordPress website and you would like to install Google Analytics, you have come to the right place. It’s quite easy to install it in WordPress as there are quite a lot of plugins available.
In this tutorial, I am going to answer the following:
What is Google Analytics?
Why is Google Analytics Important?
How to install Google Analytics on WordPress?
Click here to skip to the installation part
Perfect, if you are still reading this then let’s get started.
Table of Contents
What is Google Analytics?
Google Analytics is a web analytics tool that is offered by Google. The web analytics tool gives you a piece of code and once it’s correctly placed on your website, it lets you measure your Return of Investment.
It provides extremely valuable insights into your website. Which will help you create actual strategies to grow your business.
Below are a few things that analytics offers:
Who are your visitors? – It shows you clear cut data on who the audience is and that includes their geographical data as well.
Where are your visitors from? – Apart from the geo-data, it also tells you from which part of the web the users are coming from.
How long are the users spending on your site? – Crucial data that the analytics provides is the average time spent on your site.
How are the users engaging? – Shows how are the users interacting with your website.
Above are a few of the data it provides and it has much more. You can take all those data to track your campaigns and make calculated decisions on your business.
Why is it Important?
Regardless of the fact if you are into the marketing of your website or you are the owner of the website. You will always need to know what is happening with your website.
The data that is taken from the analytics will give a wider understanding of the audience. In any business knowing your customers and audience are very important and that is exactly what it does.
, For example, : If you have an eCommerce website, you need to be able to track your conversion rates and if you aren’t getting any then you will know exactly why and google keeps giving you updates on your website based on the data it collects.
How to Install Google Analytics on WordPress?
The best and easiest way on WordPress to Install is to use a simple and lightweight plugin. Below is a video tutorial if you don’t want to continue to read.
Below are the actual steps to install it via WordPress.
Step 1: Sign up for Google Analytics
The first step to do is to sign up and create a new account for your site if you already don’t have one. Click here to create an account
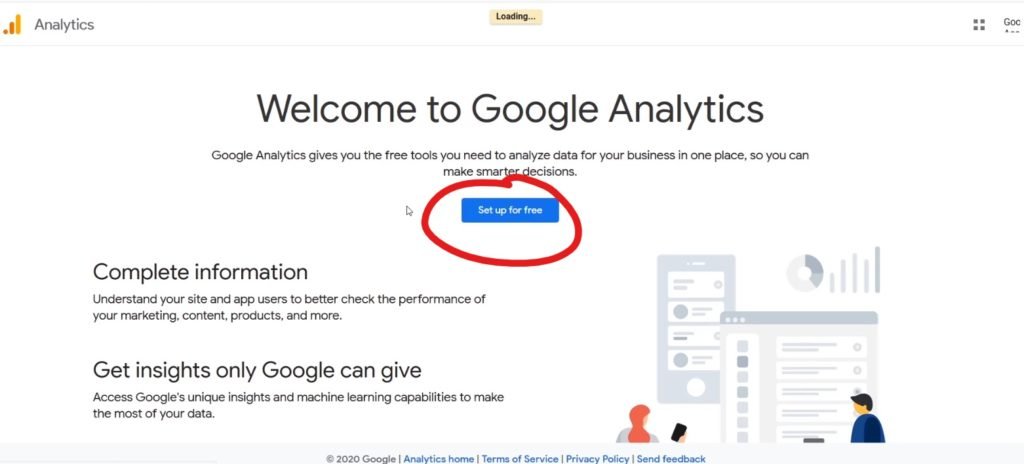
This is going to be either “Set up for free” or “Get Started”.
Step 2: Log In to your google account.
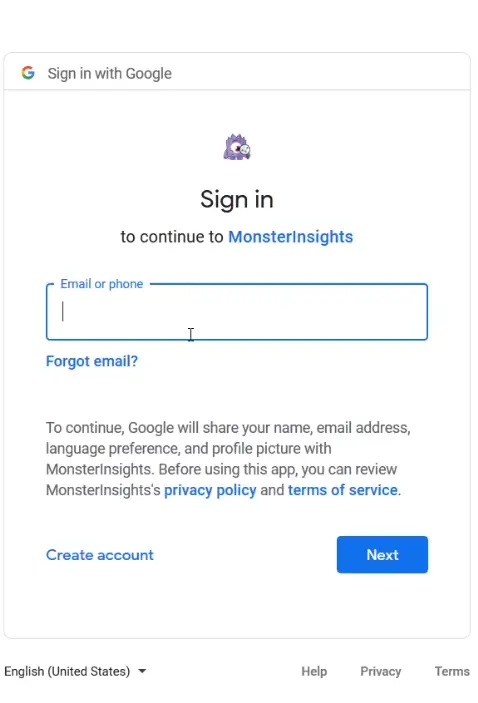
Once you have filled in your details and logged into your account. You’ll be prompted to the next step.
Step 3: Fill in your details

Make sure to fill in your account name. This is just an account name and only you are going to be able to see it.

Step 4: Choosing what you want to measure
This is important. As we are going to measure the website. Click on the option shown in the image below.
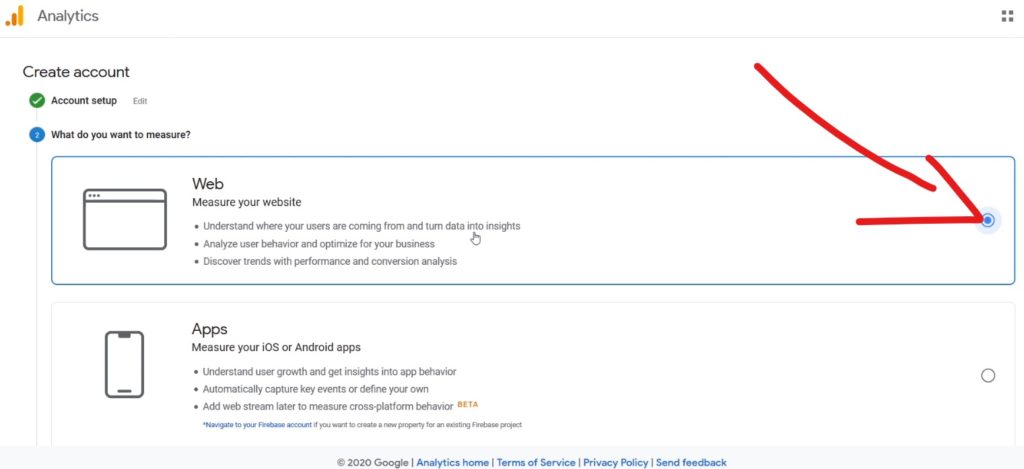
Alright, now that’s done. The next one is important.
Step 5: Details of your website.
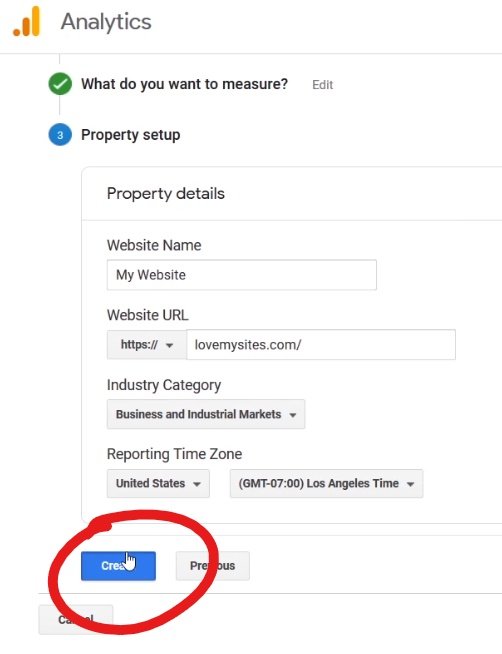
Type in your website details and also your category. You need to choose your correct timezone as it will reflect the same in your data. So make sure you have set the correct one.
Step 6: Accept terms & Create your account
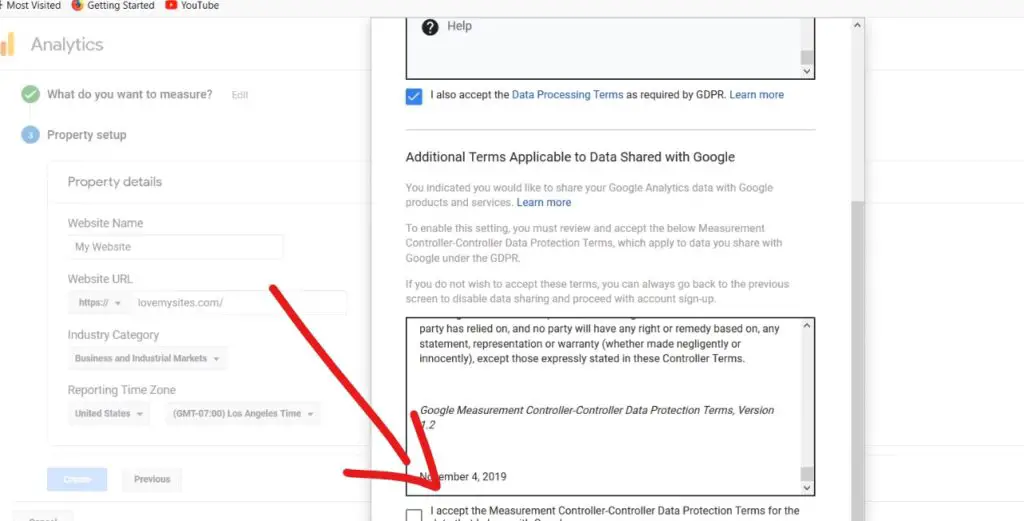
Make sure to read the terms and conditions and accept them. It’s also good to read them.
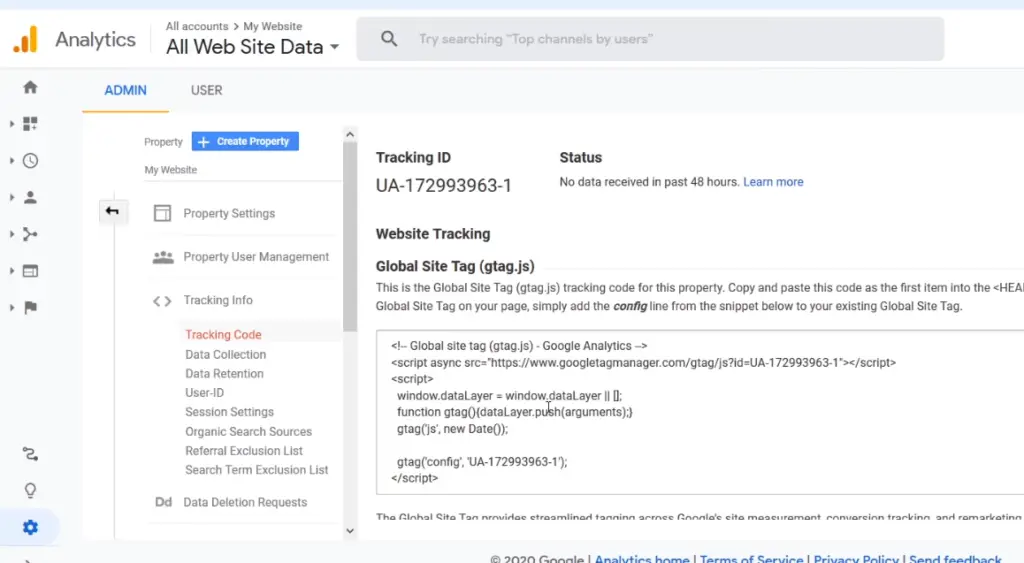
That’s about it for the google analytics side.
Step 7: Logn to your WordPress Dashboard

Step 8: Adding the Plugin
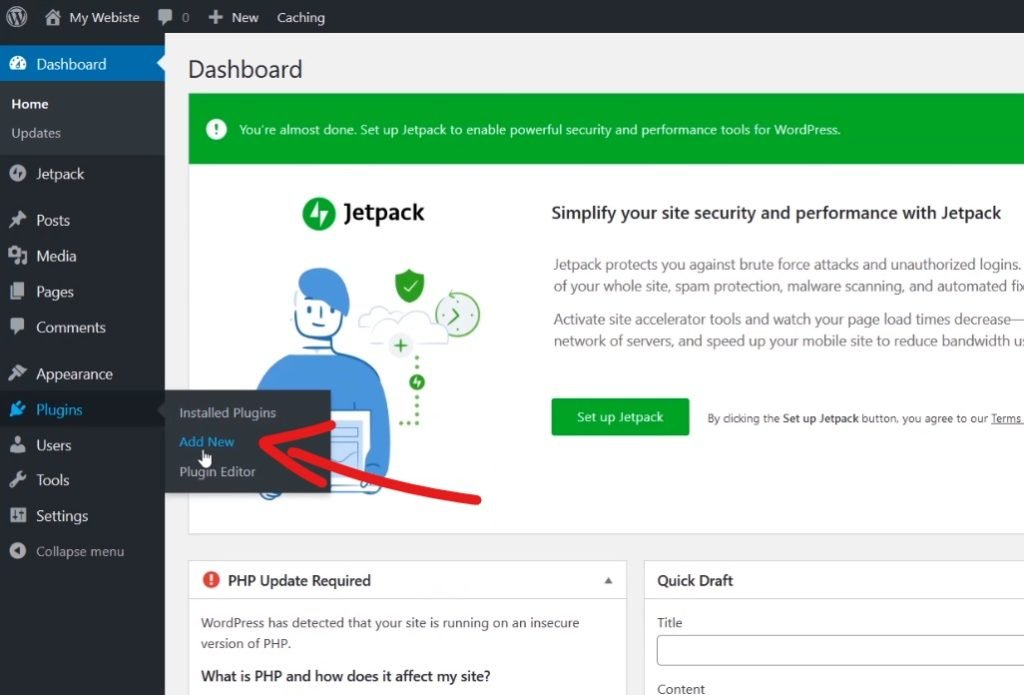
Navigate to Plugins > Add New

Search for “Monster Insight”. or alternatively here is the link to the plugin
Step 9: Configuring Monser Insight Plugin for Google Analytics
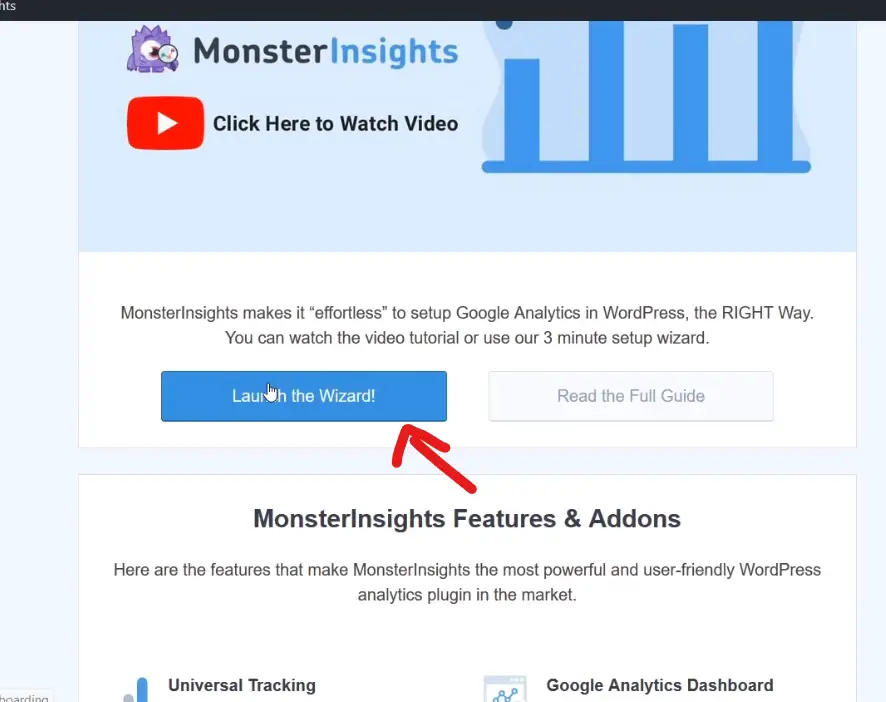
Once the plugin has been successfully installed, on the Monster Insight’s plugin page. Click on Launch the Wizard!
Step 9.1: Choose your website category
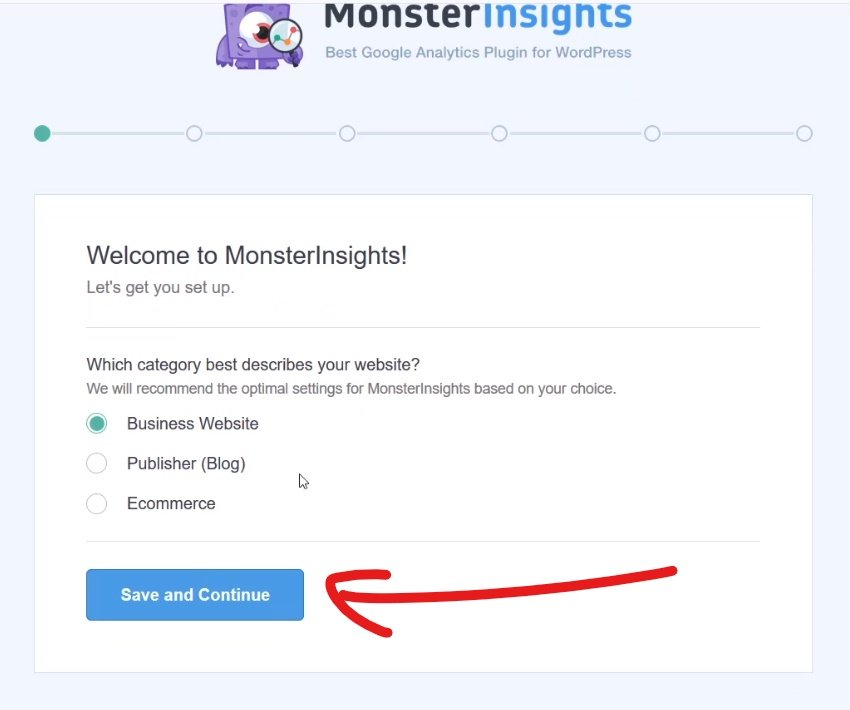
Don’t worry about the specific category of your website as that will be on that next step. For now, choose the general category and click on next. Once you choose it, click on “Save and Continue”.
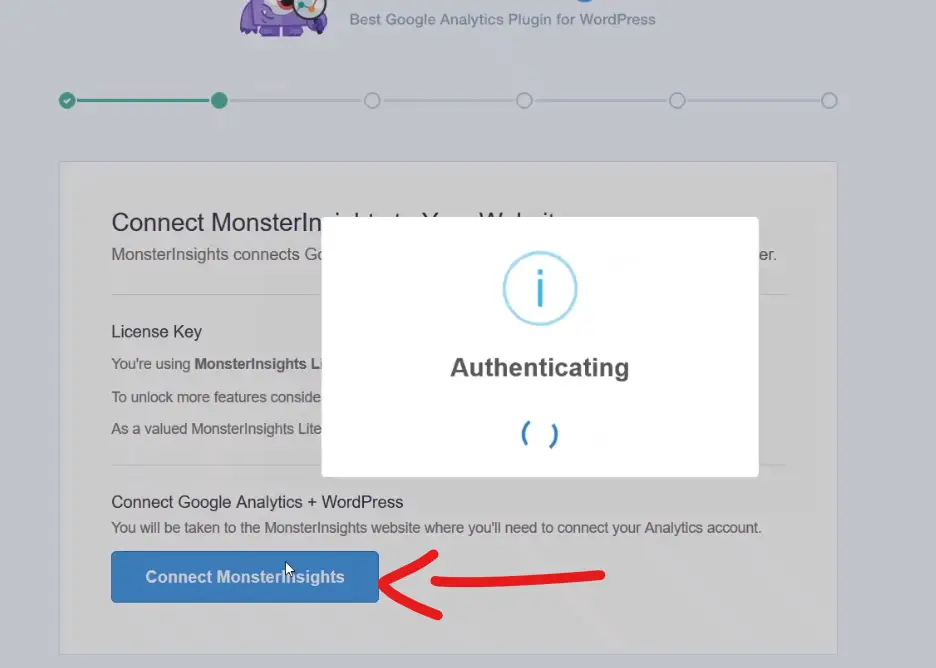
Step 9.2: Connecting page of Monster Insight
After you’ve reached this page, you can directly click on next as Monster Insight offers a free version of the plugin as well and you don’t need to worry about the license until you want the pro feature.
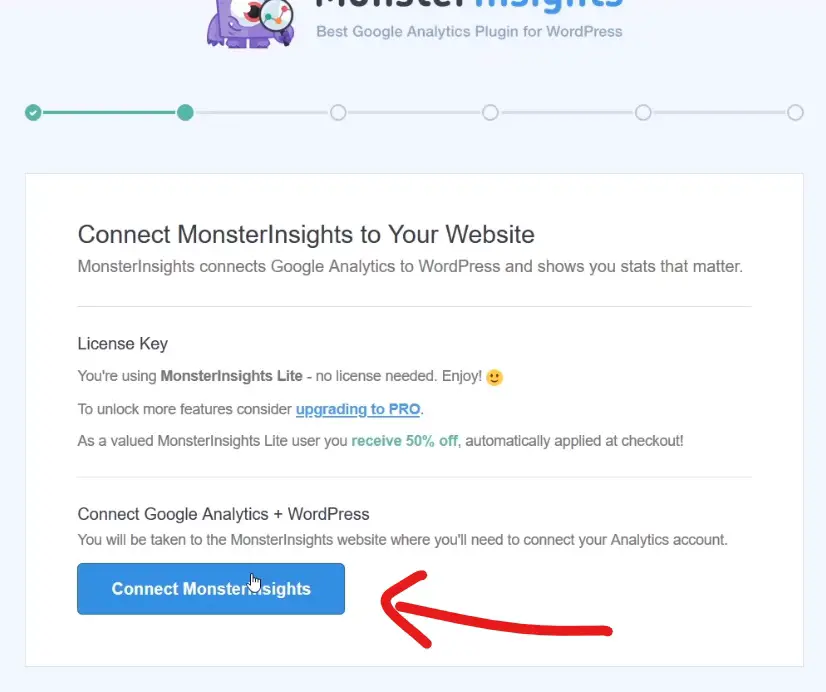
Click on the “Connect Monster Insights”.
Step 9.3: Choose your Google Account to Allow Monster Insight
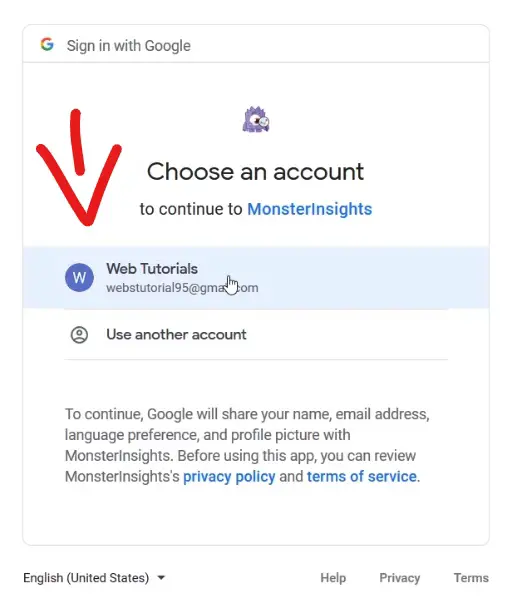
Click on the same account you’ve used to create the google analytics account.
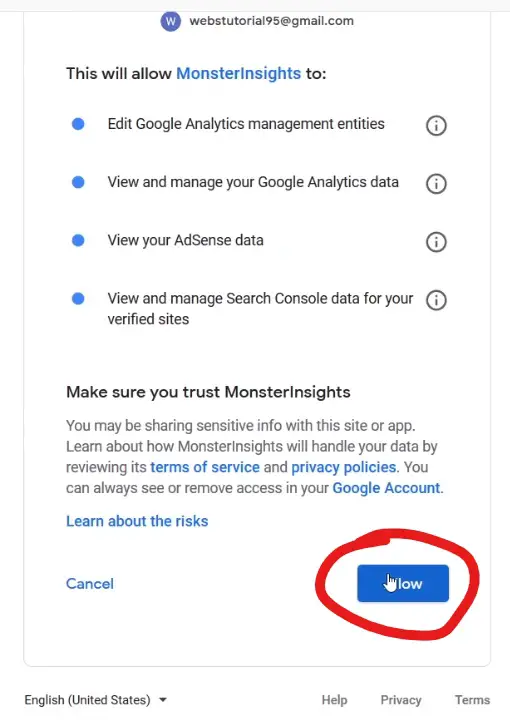
Monster Insights needs these data from Google Analytics, so make sure you click on “Allow”.
Step 9.4: Add your website
Now choose your website from the dropdown. The website you just added on the analytics console.
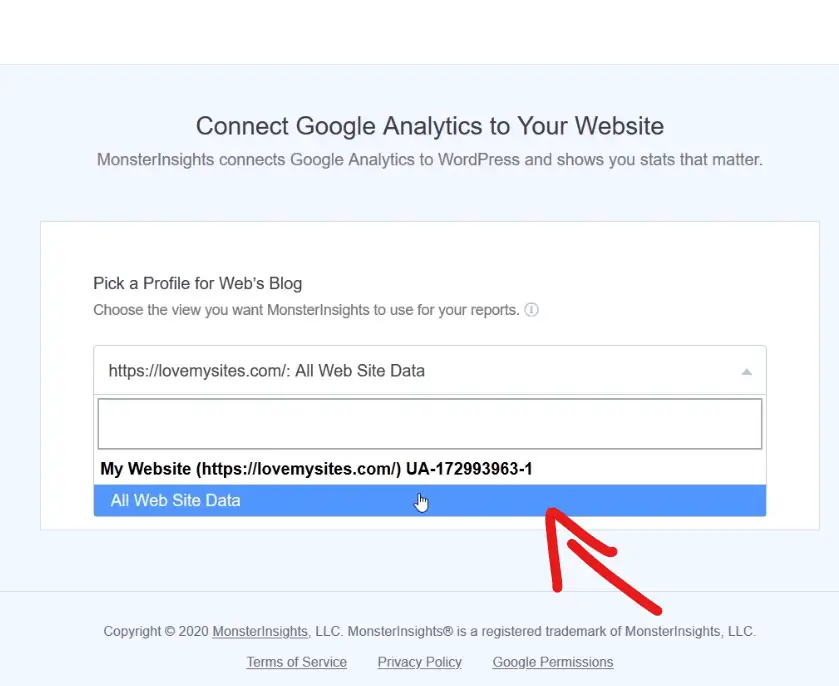
After that, click next!
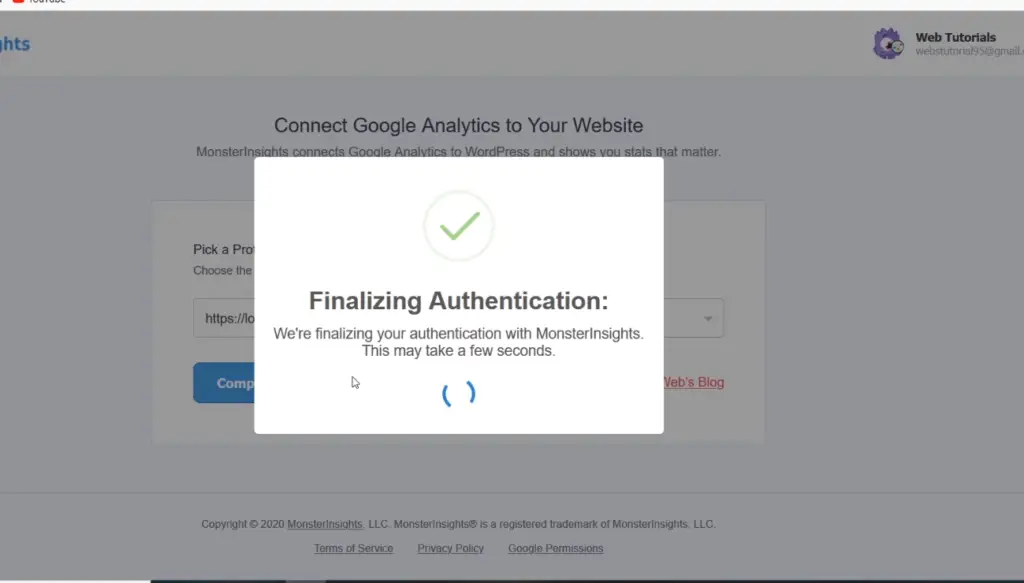
That will take you to the new few final pages as shown in the next step.
Step 9.5: Completing Google Analytics Setup
Below are the bunch of settings for the Monster Insights plugin. I would suggest you leave it as it is if you are a beginner. As the default settings are good enough.
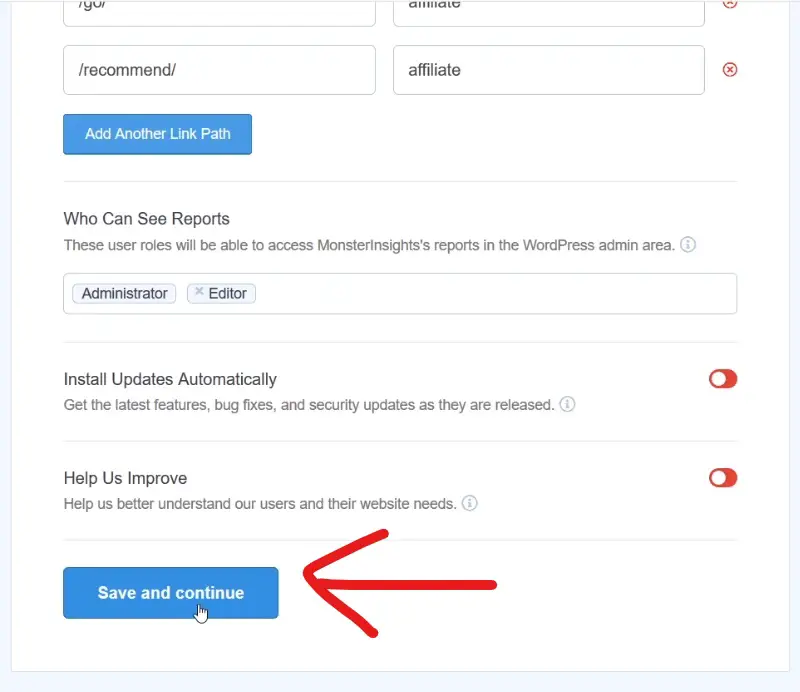
Note: You can always change these settings at a later date.
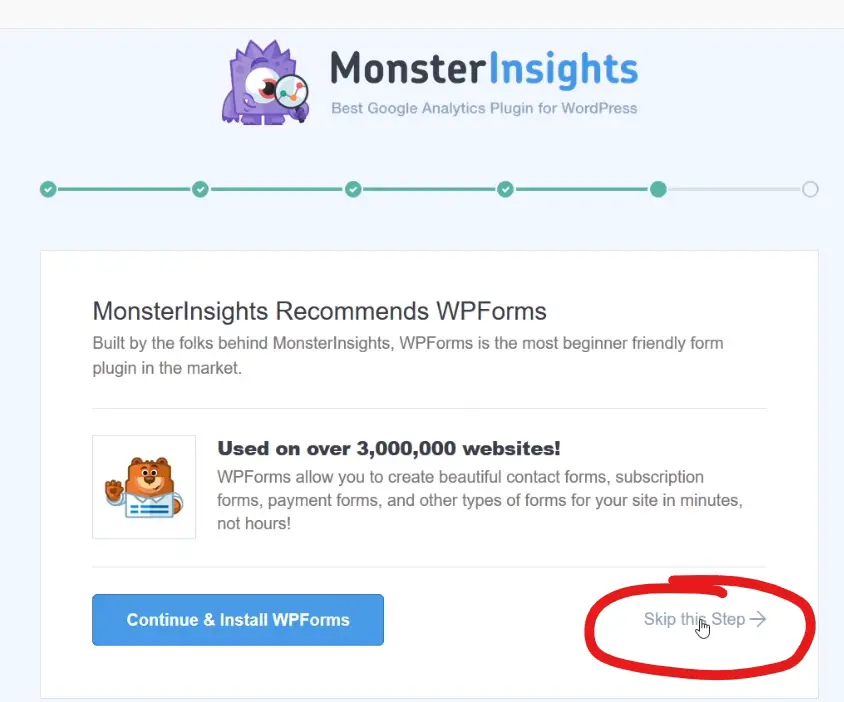
Unless you want to install WPForms you can just skip this step.
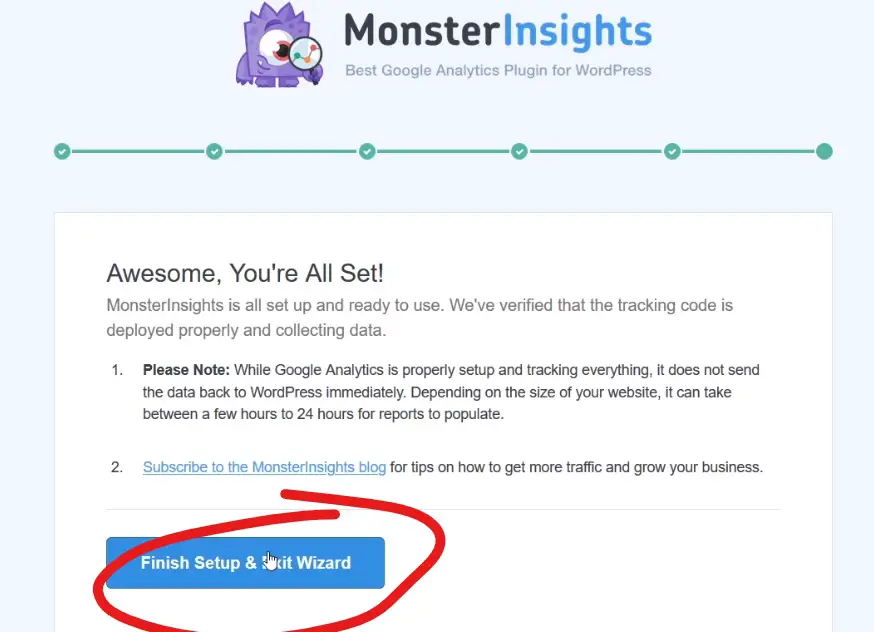
Right after you hit the “Finish Setup & Exit Wizard”. You will be taken to the Monster Insight’s dashboard. Then, you’re done.
Step 10: Navigate to WordPress Dashboard
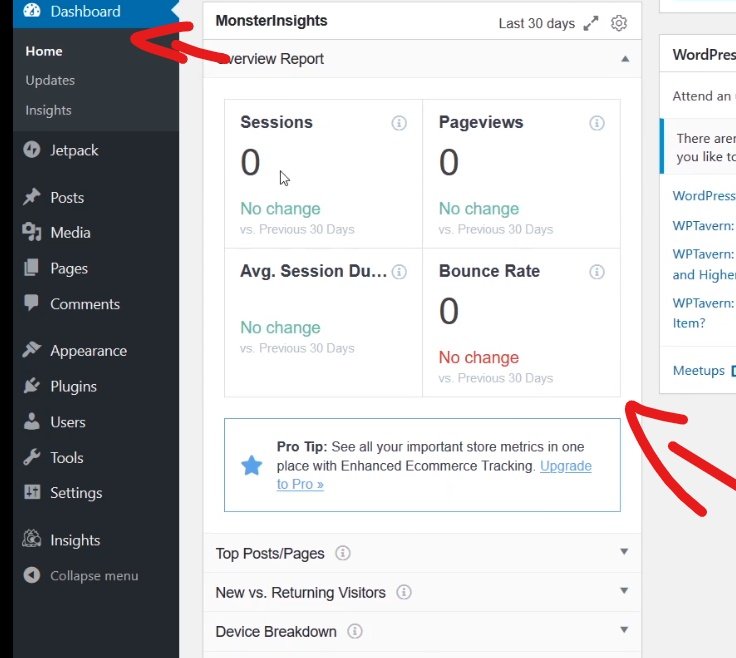
Here is the summary of your report and by this step, you will be done configuring the plugin. Which we will verify in the next step.
Step 11: Ensure connect connection of the Google Analytics
Use Private window or incognito mode to visit your website to ensure that we have successfully configured it.
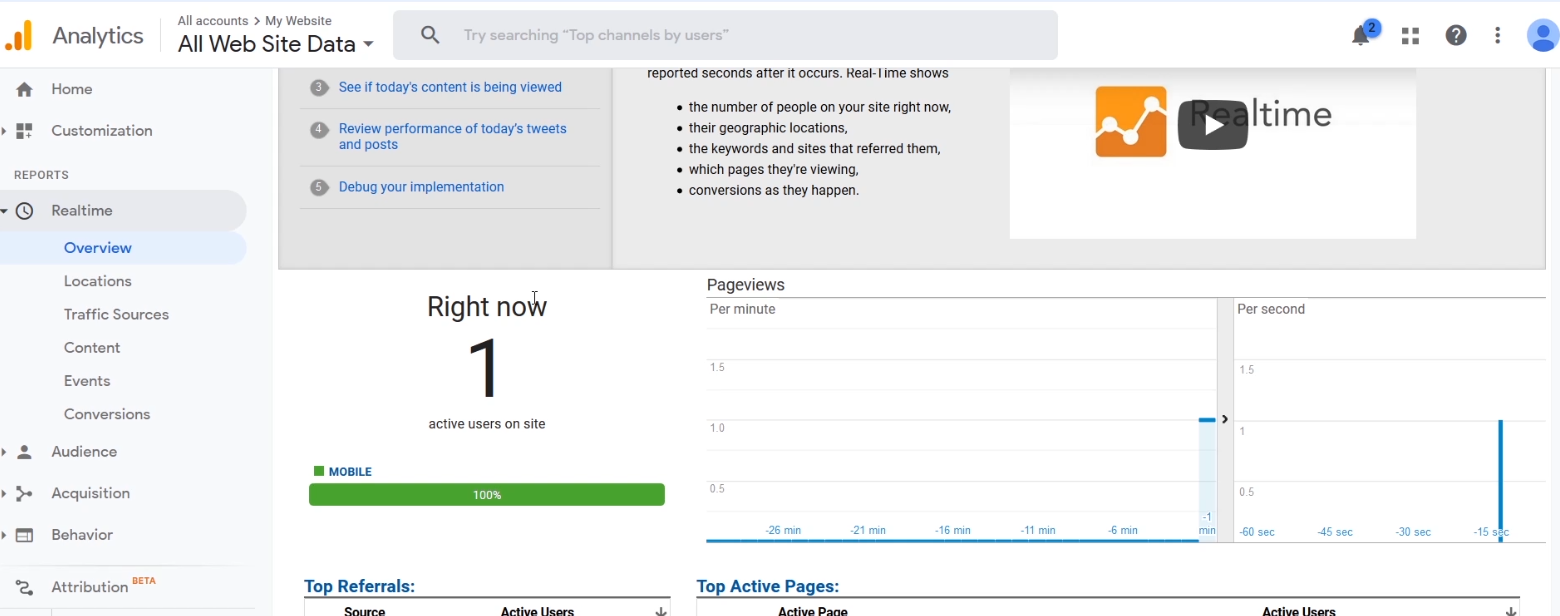
If everything has done correctly and if you have followed the steps right. Google Analytics would have been successfully connected. Feel free to comment or reach out to me if you need help.

I will be more than happy to help.
You might also want to check out:
- Digital Marketing for your business
- Viral Marketing
- Social Media Marketing for Restaurants
- Social Media Marketing for Nightclubs