CloudFlare is the one of the best and easiest service to set up to protect your site. In this Article I’ll be showing you how to setup CloudFlare for your WordPress website.
WordPress sites in General gets attacked on a daily basis. I personally got my site attacked probably more than 1000s of times and I had to figure it out by myself on how to fix it and protect the website.
There are a lot of number of ways to secure your sites and CloudFlare is only of the best ways to do it and also you can get started for free. Even with a basic free plan you’re much more secure than leaving your WordPress site as it is.
If you have a new WordPress site, also feel free to check out how to install google analytics.
Table of Contents
Why Use CloudFlare on WordPress?
WordPress in general doesn’t have a great security and it’s very hard to tell where the vulnerability would be. There are a lot of attacks that might happen to your website that you can’t manually stop. We need a service that will help us do that.
CloudFlare will act as a filter before users or even hackers access your website and if there is a bot trying to access your website, CloudFlare will stop the bot from moving forward. This service will shield your website from unwanted sources and automated traffic.
It’s better to give your users and yourself a safe site. Below is an example of how it works…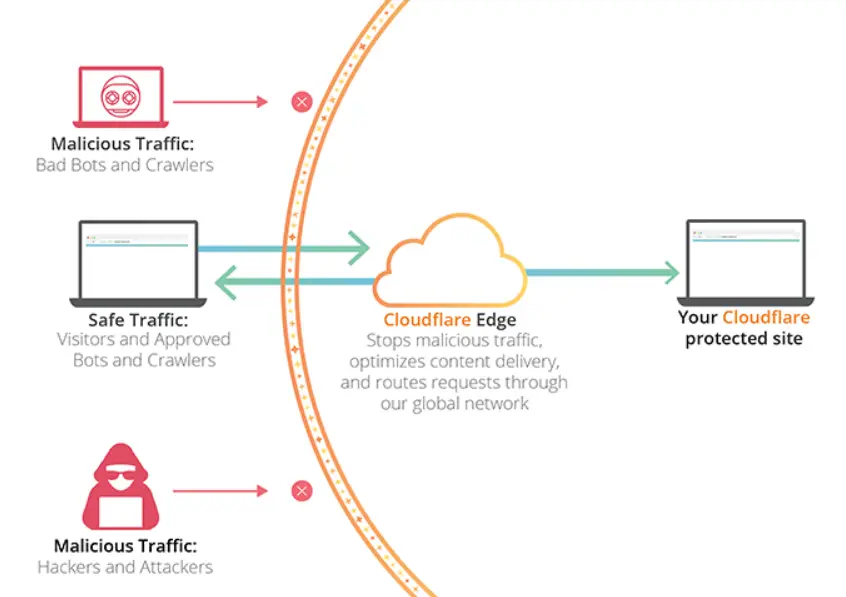
CloudFlare to WordPress Installation Step-by-Step
Create an Account in Cloudflare.com
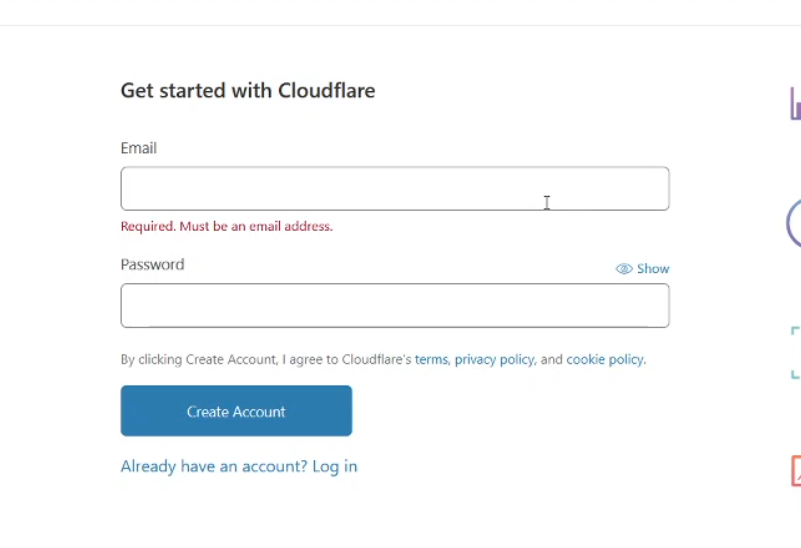
You can use your regular email and If you don’t already have an account then go ahead and register with your email address. Make sure it’s a valid one as this is important. You will have to verify your email at a later stage.
Add Your Site
Now that you have created your account, now you need to enter your domain without https://
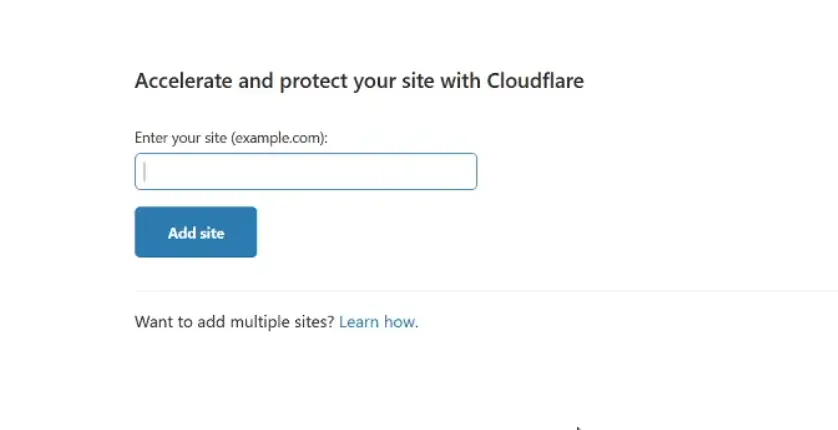
Example: yourdomain.com
Once you do that, click add site.
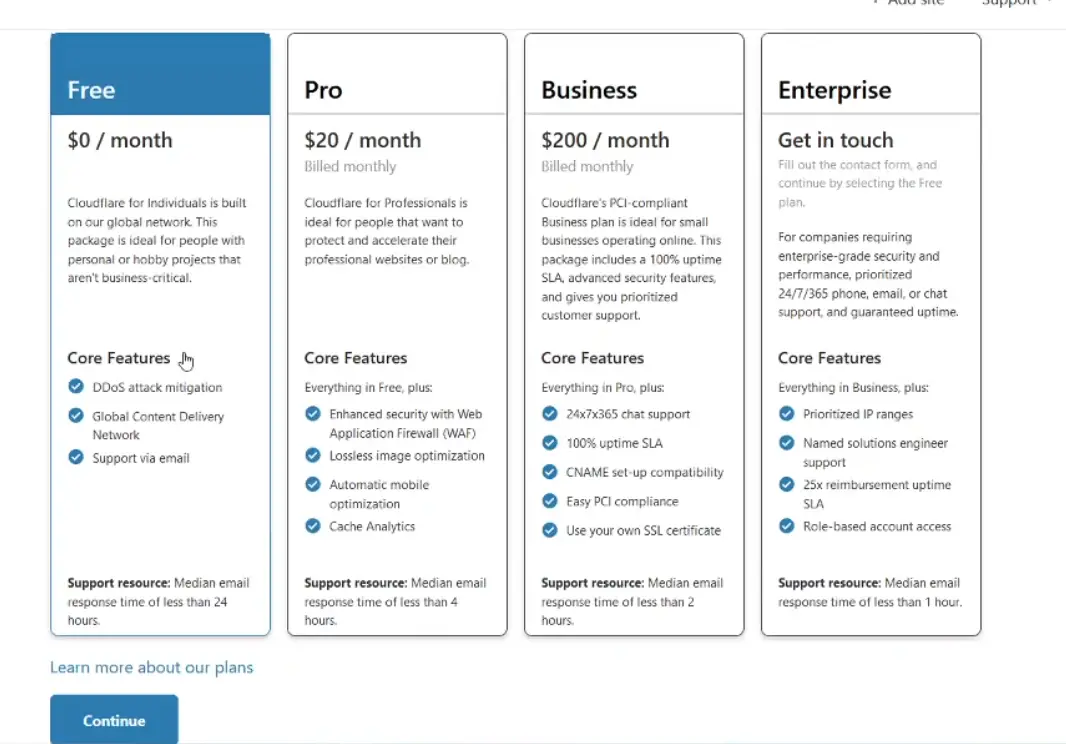
Choose a plan & Continue
Like I mentioned at the start of the article, even the basic plan is good enough to get started. So, choose your plan here and click next.
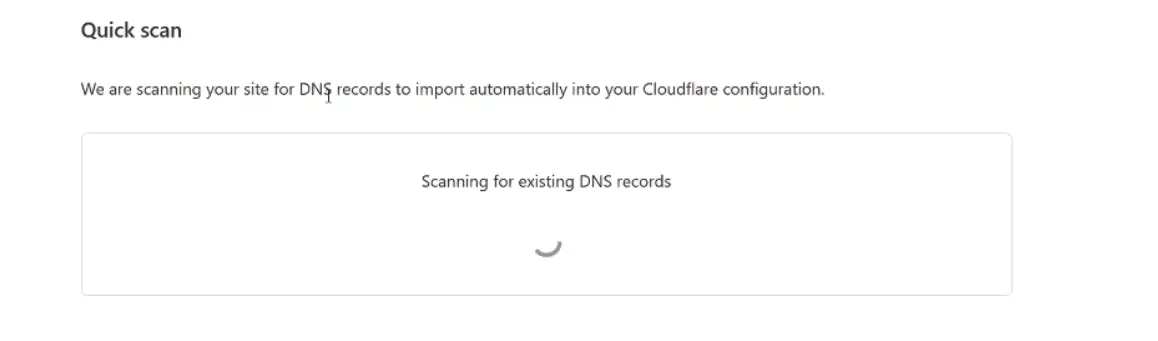
On the next step CloudFlare will import all your DNS records and ask you to review and click next.
Connect and Verify Your Domain
When you reach to this step, don’t click the “Done, check nameservers” yet. You need to connect your domain name from your domain registar to the new DNS.
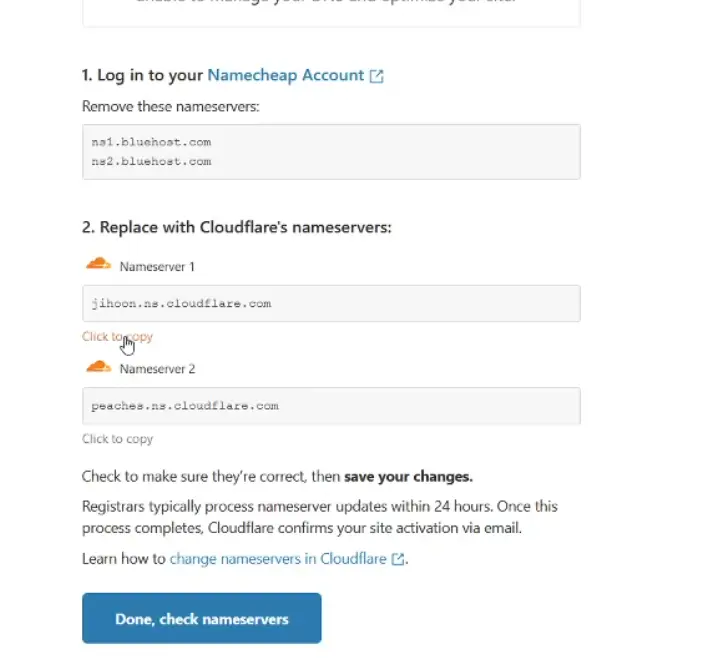
Updating Nameservers
Whatever domain name provider you use, the settings are goign to be pretty similar. I use namecheap for my domain. So below is where you need to go and copy paste your new nameservers.
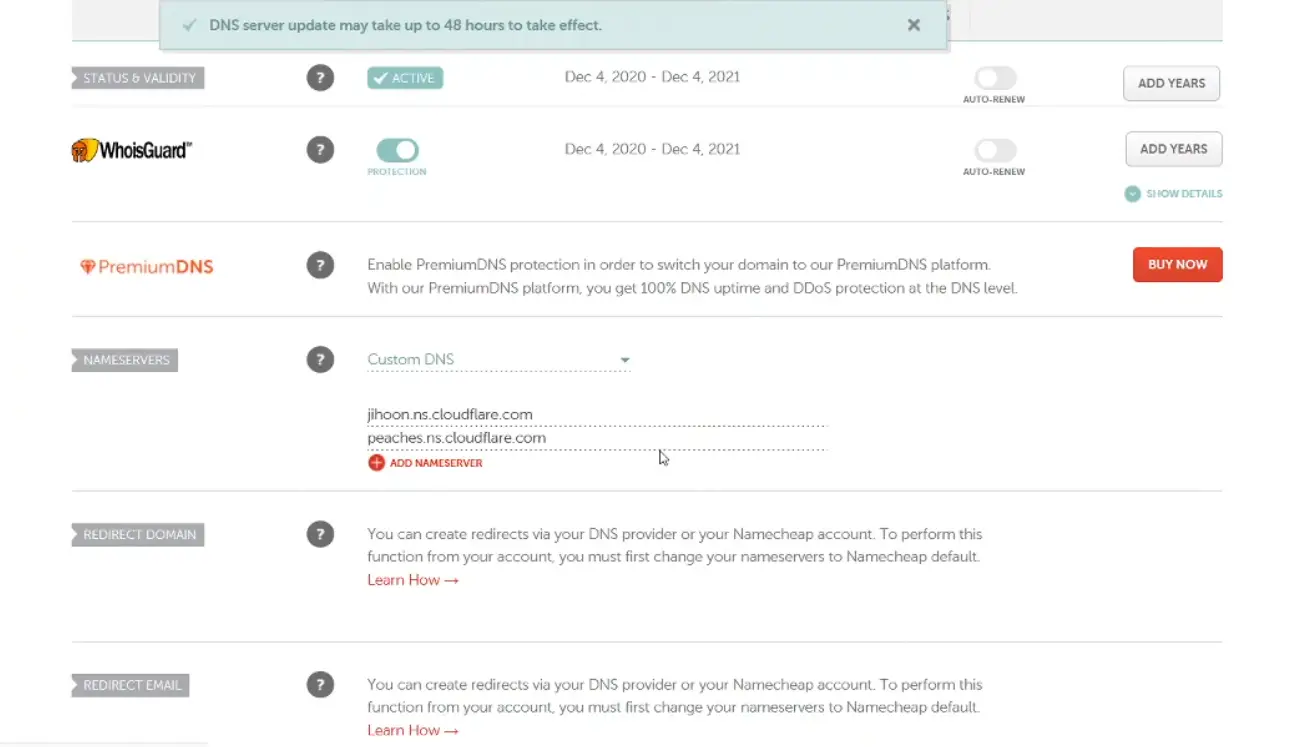
Once, that’s saved. It will take up-to 24-48 hours for the DNS to propagate. Usually it is updated in a few minutes to few hours. Now in the next step, we go back to CloudFlare.
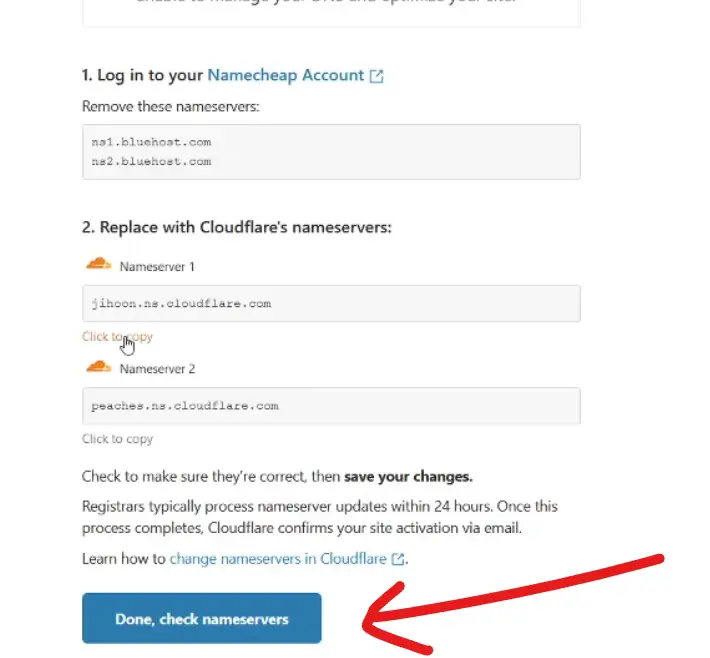
Now click on “Done. Check Nameservers”
Configure Settings in CloudFlare
If you know about caching and other settings on this page, you are free to choose your desired settings but if you are new to this then below is the summary of settings that I use.
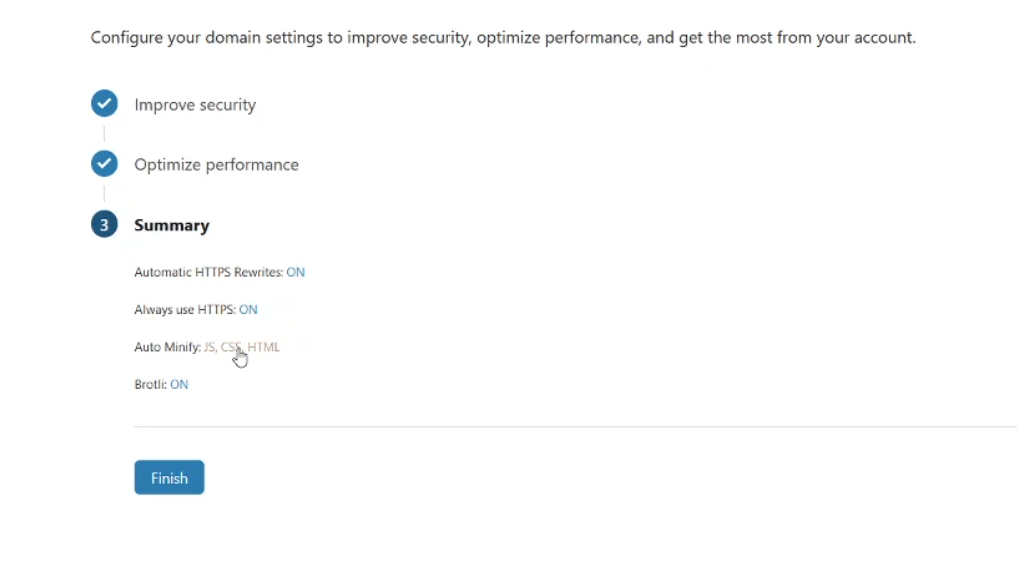
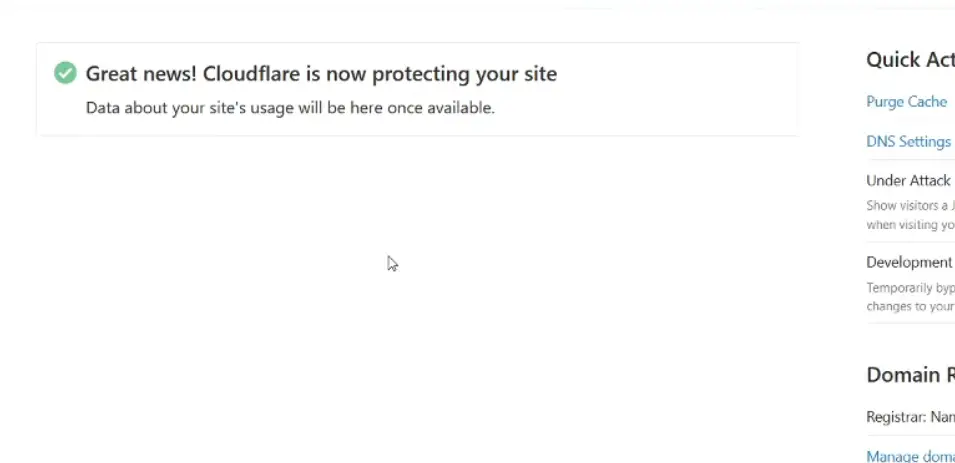
After you clicked “Finish” you should be taken to the next page where you will have to verify your domain. If you see something like the below image then, you have completed the verification.
Configuring your WordPress with the CloudFlare Plugin
Now you need to go to your WordPress Dashbard and once you’re there, navigate to Plugins > Add New
When you’re in the plugin section, now search for “CloudFlare”. Install and activate it.
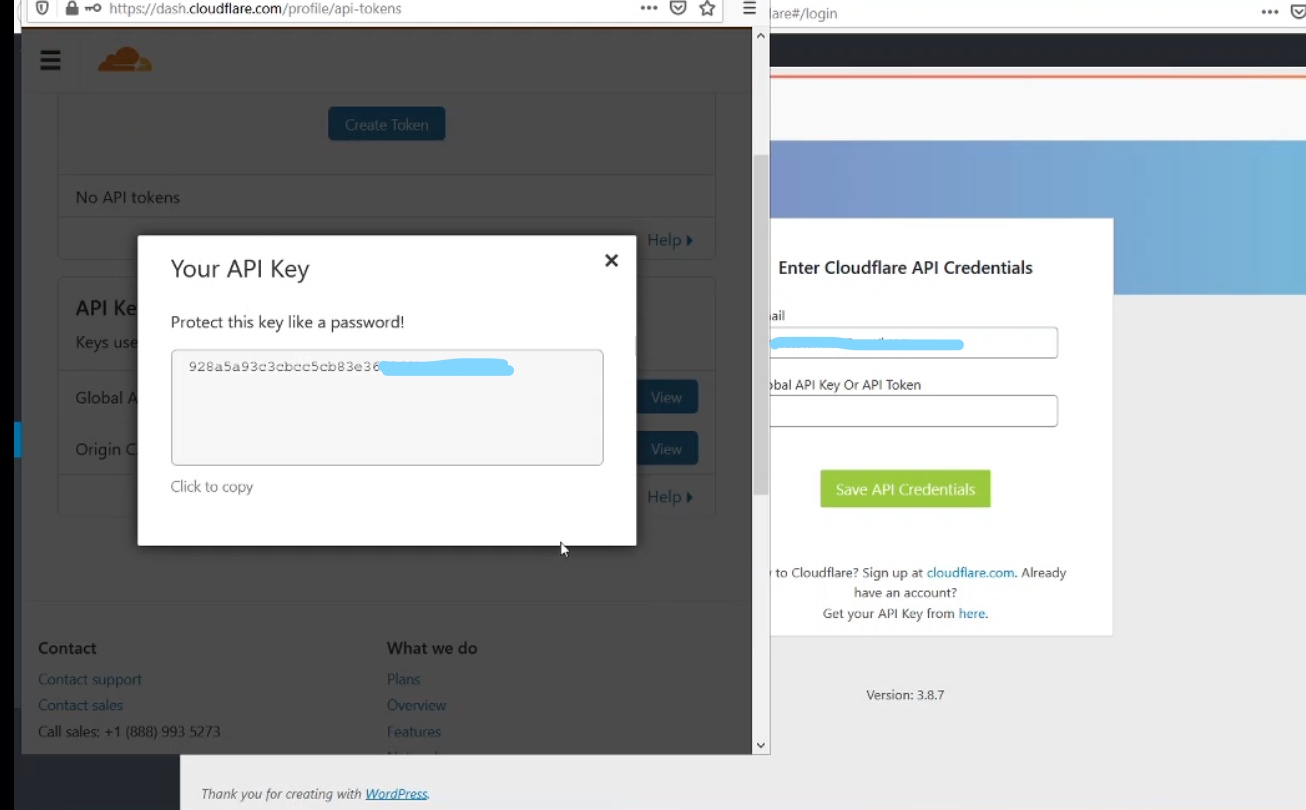
and…
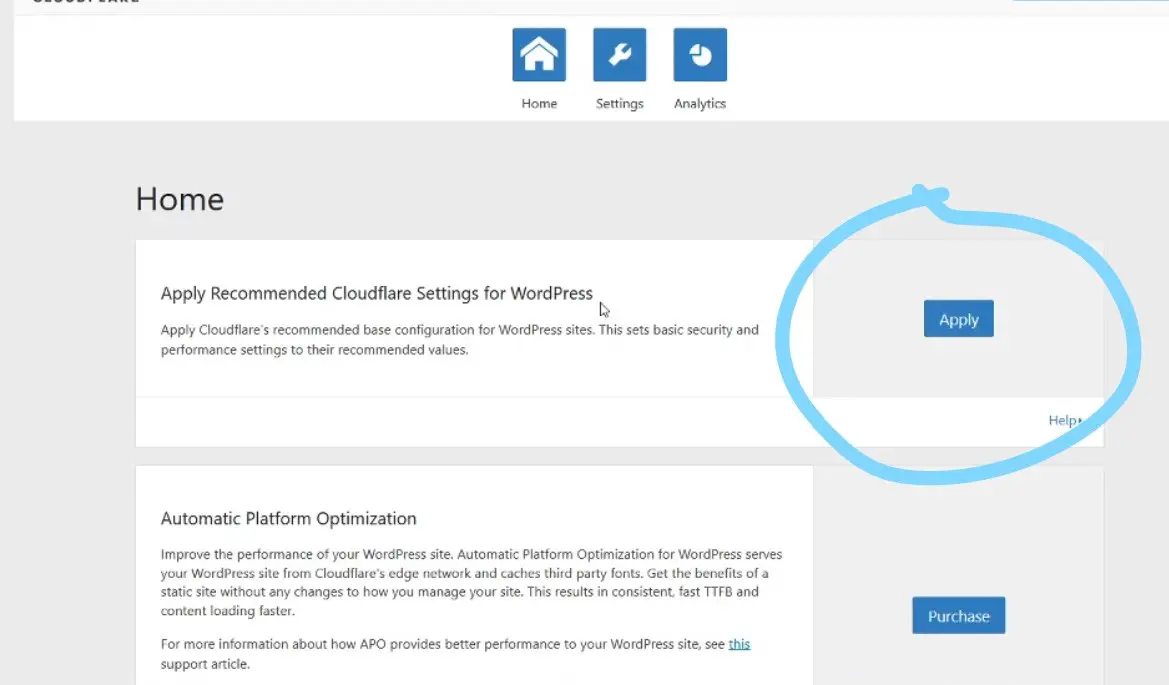
Once you click on “Save API Credentials” you are done. Now you have successfully configured cloudflare on wordpress for free.
Conclusion
Keep in mind that this is a basic setup and there are much more things to it than what the settings I have mentioned. So, use this with caution and if you need any help head over to my contact page.
You can also subscribe to my YouTube Channel to be updated on more tutorials on how to speed up your site and secure it.